Historical Artefacts: 3 Ideas to Create Your Own Educational Artefacts
Have you ever wondered how you can bring history to life at home with your kids?
Creating your own historical artefacts is a fun and educational way to engage your home-educated children. It’s a hands-on approach that makes learning about history exciting.
Children don’t just read about history—they get to touch and see a bit of the past. It will help develop critical skills like research, creativity, and problem-solving. Plus, it’s a fantastic way for parents to bond with their kids over a shared project.
So are you ready to turn your living room into a mini museum? Cue ‘messy house’!
This post will show you how to create everything from ancient coins to medieval buildings, ensuring your child’s history lessons are as fun and memorable as possible.
You may see some product links through this blog post, just to let you know, as an Amazon Associate, I earn from qualifying purchases at no cost to you.
What is a Historical Artefacts
A historical artefact is any object made or used by humans that offers insights into the past.
There are many objects that historians and archaeologists have discovered through the years that offer a vast insight into the past, tools and weapons such as arrowheads or ancient chisels which tell us about the technology and daily life of past cultures.
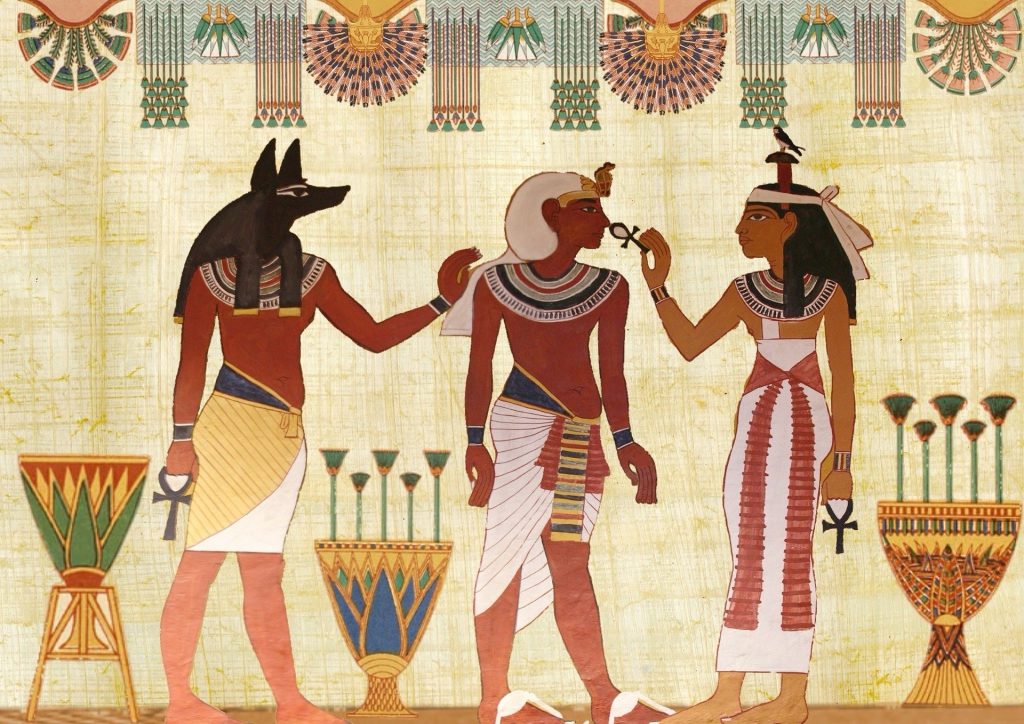
Art such as paintings, sculptures, and other skilled crafts reveal the aesthetics, beliefs, and social structures of their time.
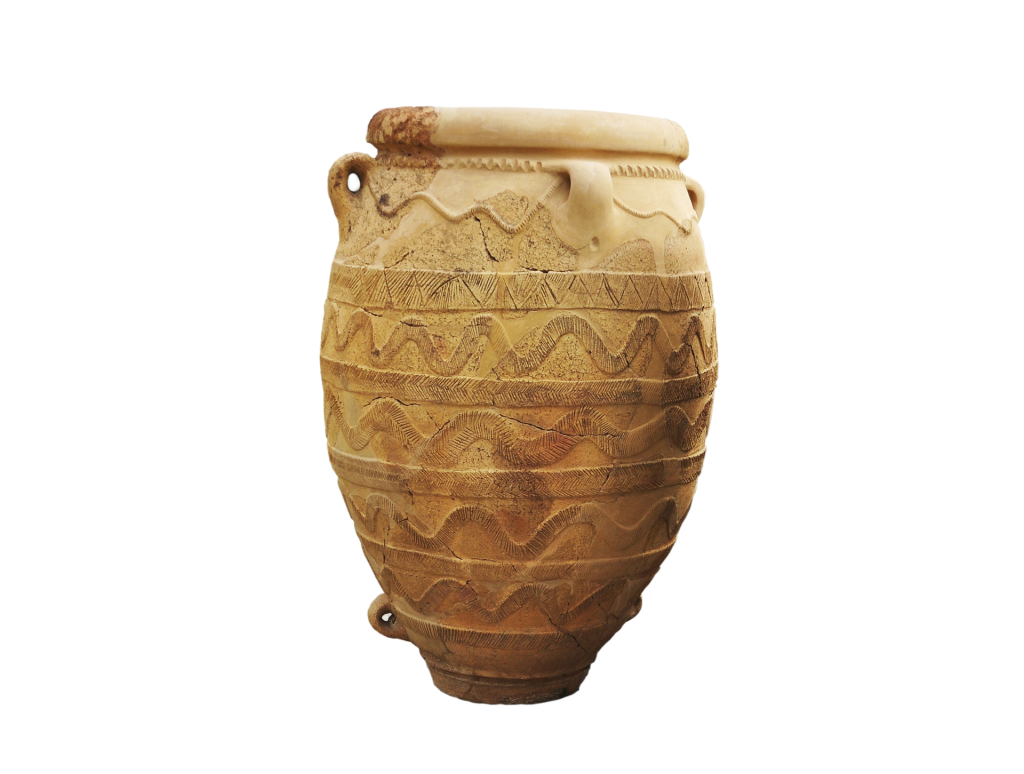
Have you ever wondered what makes an old pot is so special?
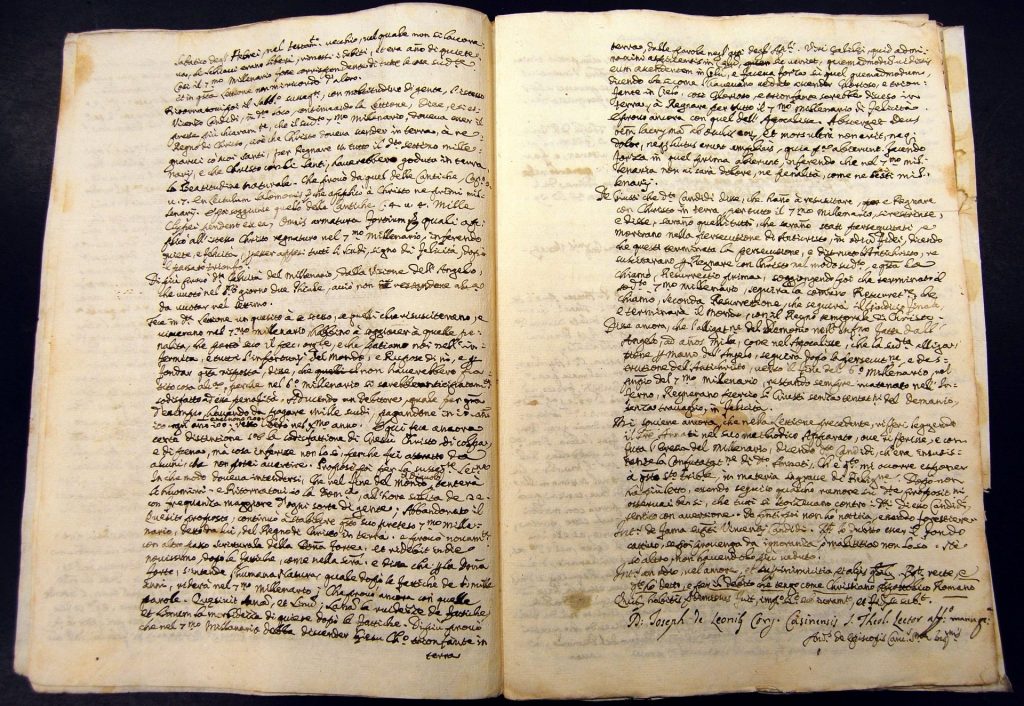
Documents such as manuscripts, letters, and even old shopping lists can provide a snapshot of everyday life and important events.
Then clothing and jewellery such as fashion items can indicate social status, occupation, or cultural affiliations.

All these items help piece together how people lived, worked, and interacted with their environment from many, many years ago. For more detailed information on what constitutes an artefact, visit National Geographic
The Educational Value of Artifacts
When kids start to create their artefacts it enhances their learning experience uncovering the past in a fun and engaging way. I mean who remembers all the dates in history without real-life experiences?
- Engagement: Children are more likely to be interested in history when they can touch, see, and create something themselves.
- Creativity: Crafting artefacts opens up a creative outlet that fosters imagination and innovation.
- Critical Thinking: Kids learn to ask questions like “Why was this item important?” or “What does this tell us about the people who used it?”
- Connecting with the Past: Understanding that real people used these items helps children relate better to historical events and figures.
So let’s get down to the nitty-gritty and start creating! Before you start you may need to get some materials in. Or you may have an overflowing arts and crafts cupboard, whichever one you are have a look at the checklist below. But more importantly, decide which era of history you and your kids want to learn about.
Materials and Tools Needed
Common Household Items
You’d be surprised by how many everyday items can be transformed into fascinating historical artefacts with a bit of creativity. Here are some common household items that you can repurpose:
- Paper and Cardboard: Old cereal boxes, toilet paper rolls, and scrap paper can be used for making masks, shields, and other ancient artefacts.
- Plastic Bottles: These can be cut and reshaped to mimic ancient pottery or storage vessels.
- String and Wool: Perfect for creating jewellery, woven artefacts, or even historical clothing replicas.
- Buttons and Beads: These small items can be used to add decorative elements to your artefacts.
- Aluminium Foil: Can be shaped and embossed to represent metal artefacts like coins or armour.
- Old Fabrics: Use old bedsheets or t-shirts to create historical clothing or banners.
Art Supplies and Craft Tools
While household items are great for getting started, certain art supplies can help you create more detailed and elaborate artefacts. Here’s a list of essential art supplies. Using good-quality materials can make a big difference in the outcome of your project.
- Drawing Paper and Pencils: Used for sketching designs before starting to build artefacts.
- Paint Pens: Acrylic paints work well for most surfaces, washable ones are good.
- Clay: Modelling clay is perfect for recreating ancient pottery, figurines, or jewellery.
- Glue and Tape: Essential for sticking materials together. A hot glue gun can be handy.
- Kids Craft Cutting Tools: Scissors and craft knives for cutting precise shapes.
- Measuring Tools: Rulers and callipers for creating accurate and proportional artefacts.
Now to the exciting part, where kids get messy, and parents get busy – that or your kids are old enough and you can sit down for a coffee!
Step-by-Step Guide to Creating Artefacts
Creating a Replica Ancient Coin
Here’s how you can create one with simple materials:
- Gather Materials: You’ll need air-dry clay, a rolling pin, a round object for cutting, and some tools like toothpicks or small plastic knives for detailing.
- Shape the Coin: Roll out the clay to a thickness of about 1/4 inch (throwing in the maths). Use a round object like a bottle cap to cut out the coin shape.
- Add Details: Impress details onto the clay using your tools. You can look up images of ancient coins for inspiration. Don’t worry if it’s not perfect; ancient coins often had irregular shapes.
- Let it Dry: Allow the clay to dry completely. This could take a couple of days depending on the thickness.
- Paint the Coin: Once dry, use metallic paints to give it an authentic look. You might want to use gold or silver colours to make it look more realistic. Or wrap foil around tightly so the details show through.

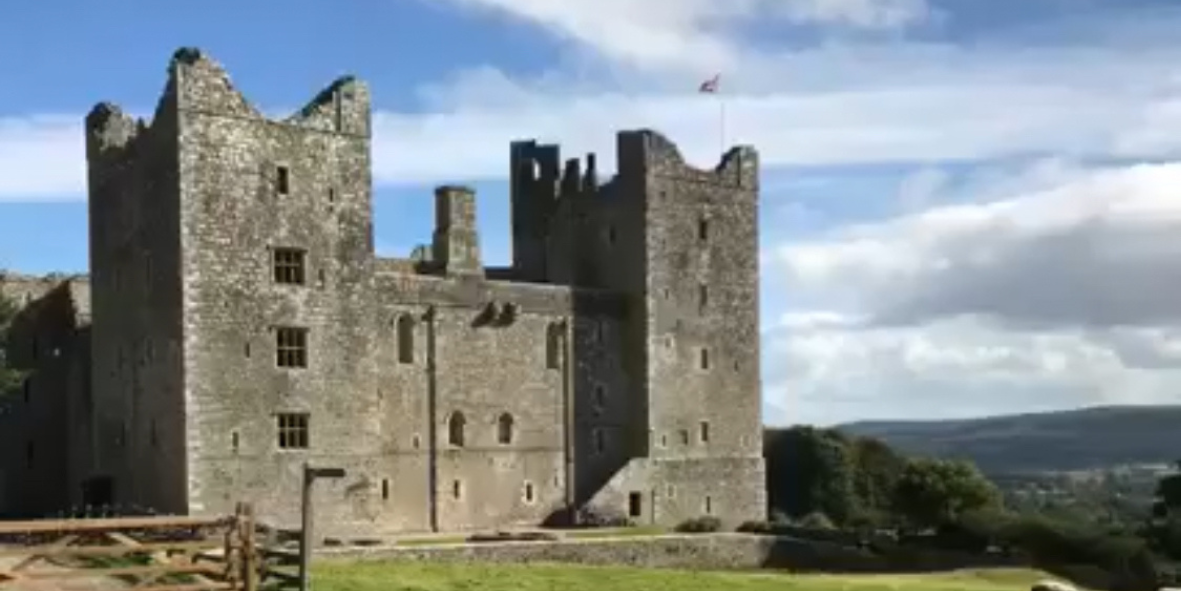
Building a Miniature Historical Structure
Here’s how you can do it:
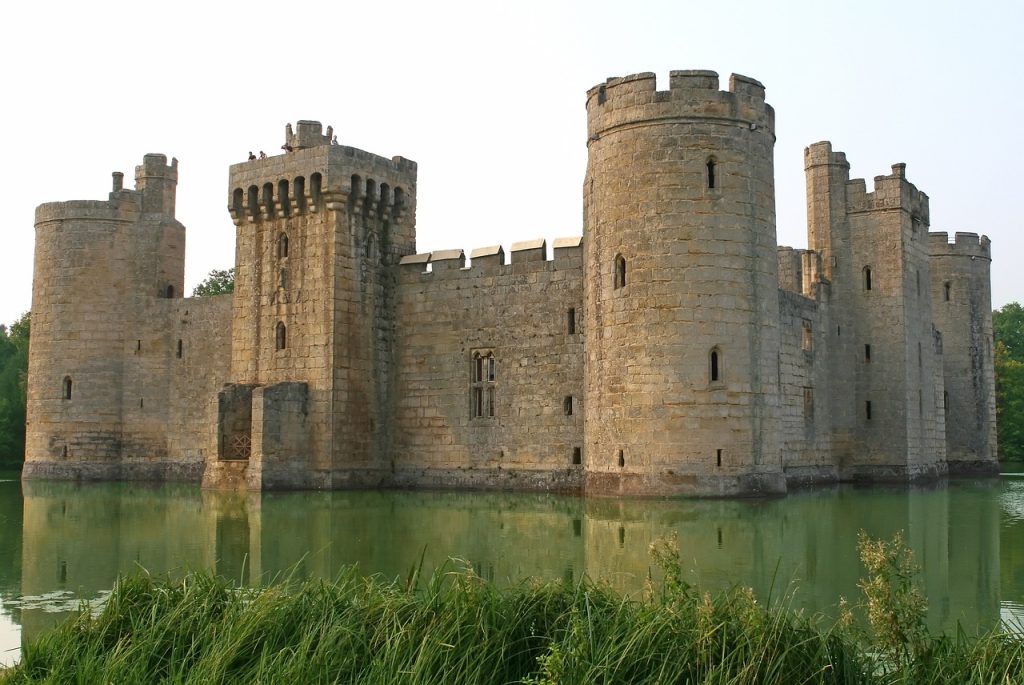
- Choose Your Structure: Select a historical structure like the Great Wall of China, a Roman coliseum, or a medieval castle. Have a picture available to copy.
- Gather Materials: You’ll need cardboard, glue, scissors, and paint. For added authenticity, you can use small stones or gravel.
- Cut and Assemble: Cut the cardboard into shapes to create the walls and roof. Glue them together to form your structure.
- Add Details: Use small stones or gravel for pathways or roof tiles. Paint the structure to give it more character.
- Finish Touches: Allow everything to dry before displaying your creation.
Crafting Period Clothing
Here’s a simple guide:
- Choose an Era: Decide which historical period you want to replicate. Be it Victorian, medieval, or ancient Roman.
- Find a Simple Pattern: Look for easy-to-follow patterns online. A great place to start is by looking for patterns that require minimal sewing skills.
- Gather Materials: You’ll need fabric, scissors, needle and thread, and any embellishments like buttons or ribbons.
- Cut and Sew: Follow the pattern to cut and sew your fabric into the desired shapes. For beginners, starting with simple items like tunics or capes is best.
- Add Embellishments: Once the basic outfit is complete, add any embellishments to make it more authentic.
Incorporating Artefacts into Learning
History Projects and Presentations
Encourage your children to use their handmade artefacts in history projects or presentations which will make learning more engaging and impactful.
Here are a few suggestions:
- Visual Aids: Using artefacts as visual aids can help children better understand and explain historical events. For example, a homemade model of the Great Wall of China can illustrate its scale and significance.
- Role-Playing: Encourage children to become historical figures. They can use their artefacts as props in a role-play, which can be both educational and fun.
- Research: Have children research the history behind their artefacts. This can involve studying the time period, the people who used similar artefacts, and their cultural significance.
By incorporating artefacts into projects, children get to “show and tell” on a whole new level!
Creating a Home Museum
Setting up a mini museum at home can be an exciting way to display artefacts and encourage continuous learning.
Here’s how to get started:
- Designate a Space: Pick a small area in your home, such as a bookshelf or corner of a room, to display the artefacts.
- Label Your Artefacts: Create labels or placards with information about each artefact. Include details like what it is, where it’s from, and its historical context.
- Organise by Theme: Group artefacts by themes or time periods. This makes it easier for children to see connections and understand the broader context of history.
- Interactive Elements: Add interactive elements like quizzes or scavenger hunts related to the artefacts. This can make visiting the home museum a more dynamic learning experience.
- Invite Friends and Family: Turn your museum into a community project by inviting friends and family to view the exhibits. This can be a rewarding way for children to share what they’ve learned.
Creating a home museum transforms a simple history lesson into an immersive experience. Not only does it allow the children to be creative it deepens their understanding and interest in history.
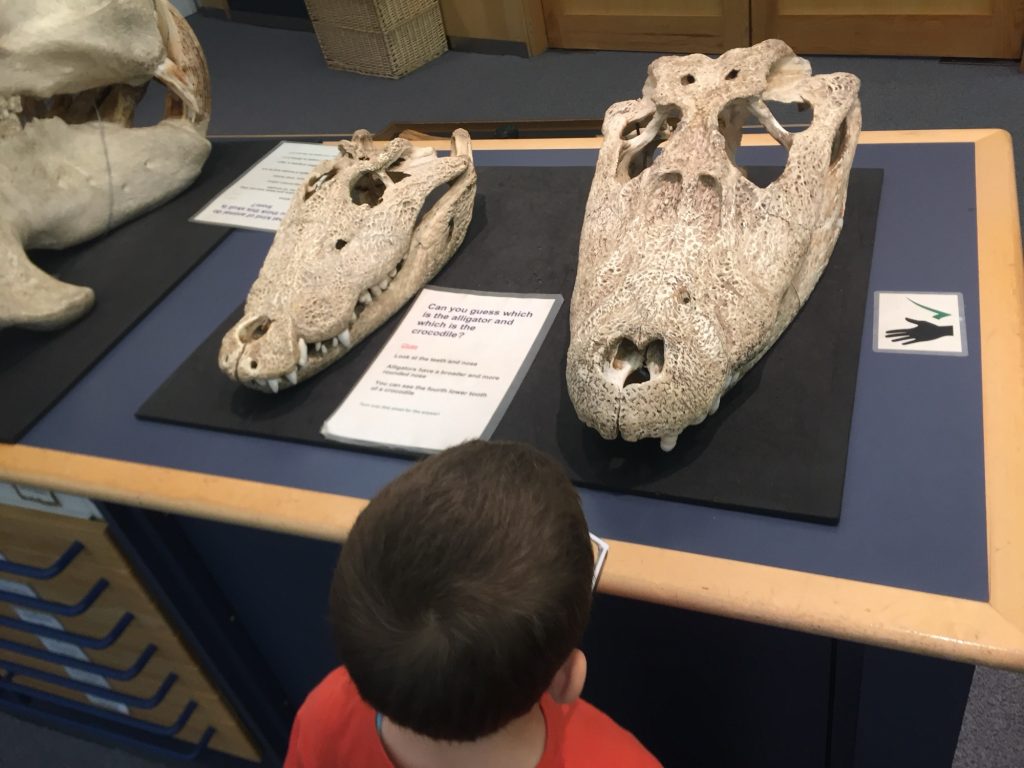
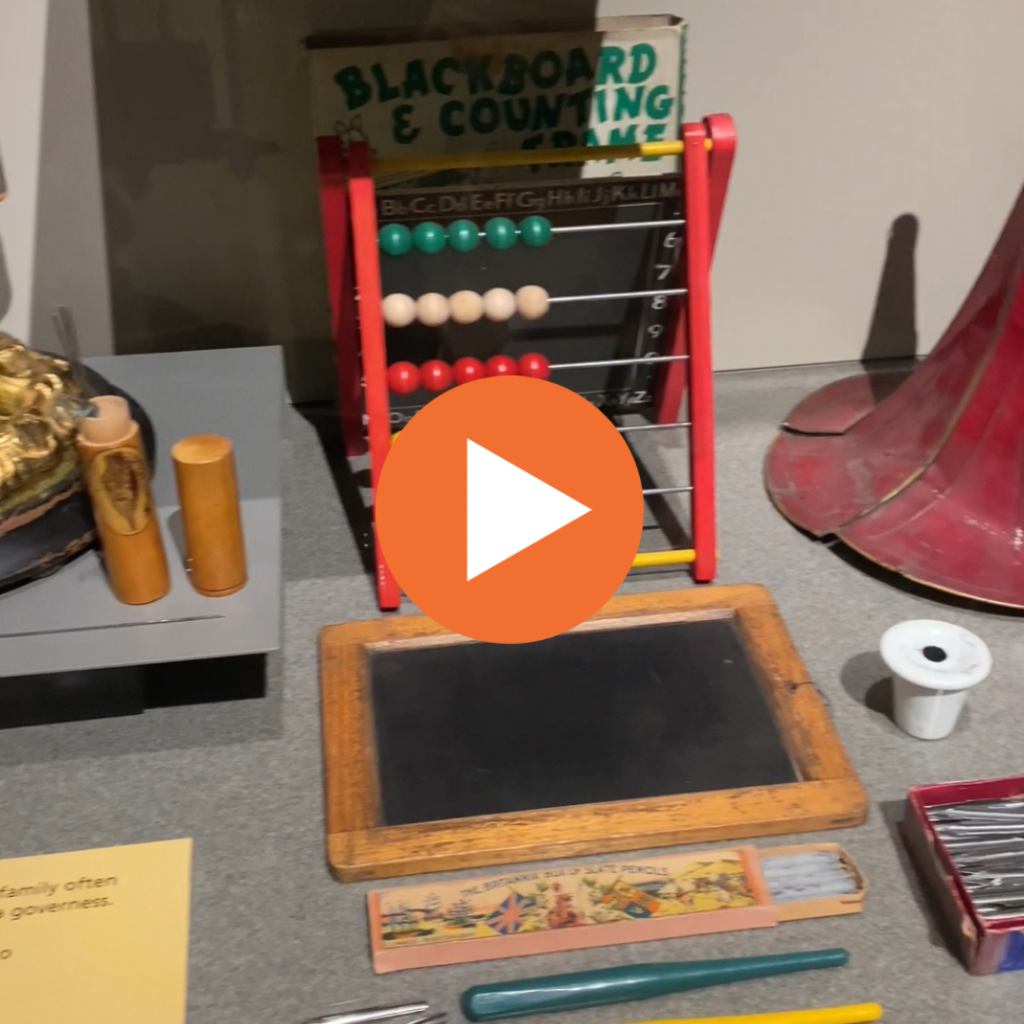
These activities are amazing for kids when the weather is colder or you need a few days at home otherwise getting out and about to various museums to see real-life artefacts and natural history is a great learning experience too.
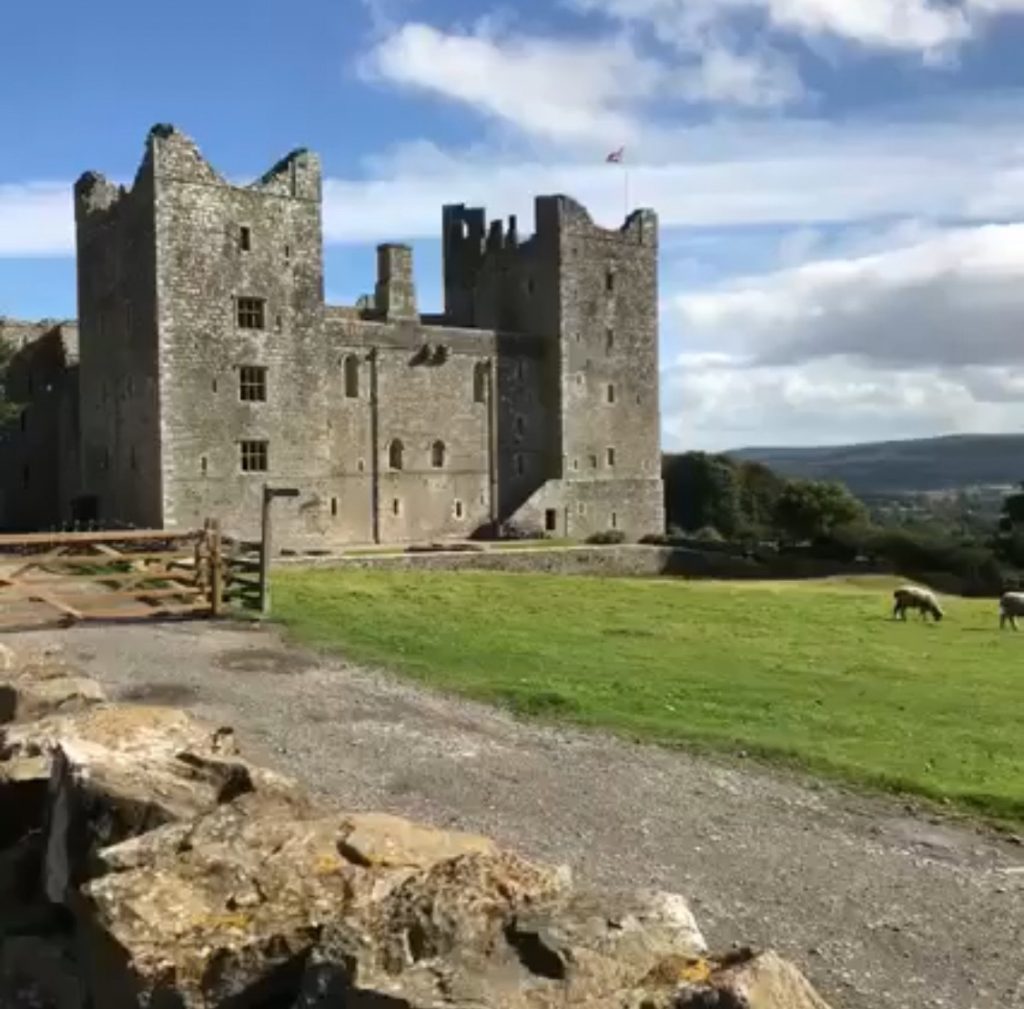
Visiting historical places such as stately homes or castles is also an amazing way to learn history.
Encourage your kids to explore different periods and cultures.
This hands-on learning can spark their imagination. It can deepen their understanding of humanity’s journey.
If your child loves to hear stories then below is a list of good books to show artefacts.
KEY STAGE ONE
- Stone Age Boy This story introduces children to Stone Age artefacts like tools and cave paintings through a fascinating adventure.
- The Museum of Me This story explores a young girl’s personal museum, filled with artefacts of her life and history, encouraging children to think about their own connections to history.
KEY STAGE TWO
- The Explorer Set in the Amazon jungle, this adventure includes discovering artefacts and exploring the history of the lost city, providing a glimpse into historical exploration. AWARD WINNING
- Cogheart This steampunk adventure involves Victorian-era artefacts and inventions, weaving historical elements into a thrilling narrative. TEACHERS’ PICK
Whatever you do enjoy and have a wonderful time history hunting.